

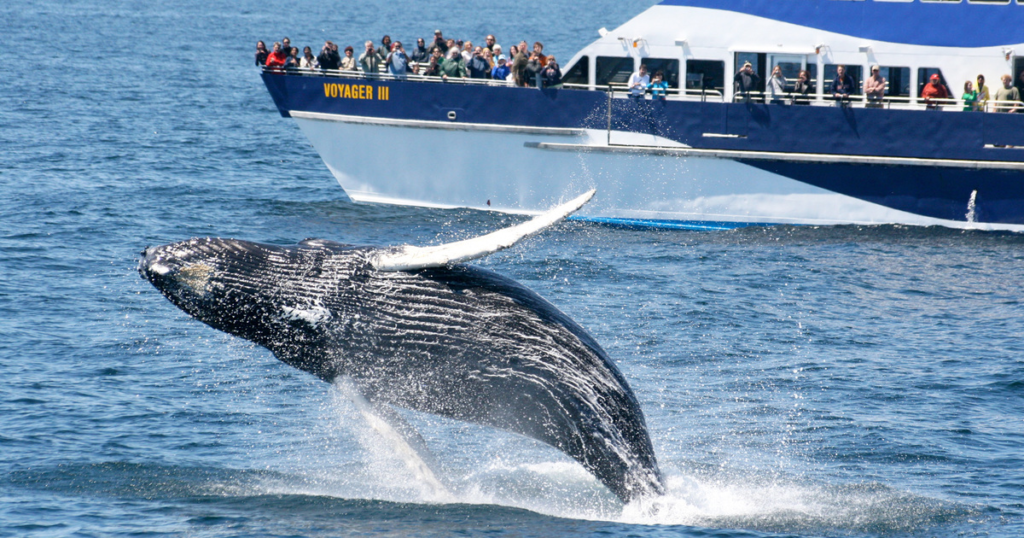
There are some experiences you can only grasp once you have lived them. For example, whale watching in Gloucester, MA will evoke that same feeling. The cold wind hits your face and salty water splashes onto your camera. Then, out of nowhere, boom! A humpback whale leaps from the water as if it owns the sea.
If you want to transform that moment into more than just a blurry memory, this guide is for you. Not overly technical. Not full of fluff. Just real advice that actually works when you’re on a moving boat, chasing unpredictable giants.
Why Whale Photography Is Harder Than It Looks
We should be honest. It’s not the same as photographing sunsets. There is movement involved—you moving, they moving. The camera will move, light changes, and whales are not known for sending an itinerary ahead of time.
That’s what throws most people off. They come in expecting easy shots, then realize halfway through the tour they’ve been pointing their camera at empty water. Timing matters. Patience too. And a bit of luck, yeah, you’ll need that.
But here’s the thing—if you understand the rhythm of whale behavior and prep your gear right, you can dramatically increase your chances of getting something amazing. Not perfect. But real. Alive.
Picking the Right Camera Gear (Without Overthinking It)
And it doesn’t have to cost you $5,000 worth of equipment. No really. I’ve seen some people shoot with very basic mirrorless cameras that produce images superior to those taken by people who carry expensive equipment but lack the knowledge of how to use it.
The minimum equipment requirement is probably a DSLR/mirrorless camera with a good zoom lens (at least 70-300 mm).
Phones? They’ve gotten better, no doubt. But zoom still struggles. If that’s all you’ve got, use it—but don’t expect National Geographic results. Keep your expectations grounded.
Also, bring a strap. I know it sounds obvious, but the ocean doesn’t forgive slippery hands. One bad moment, and your camera’s gone.
Understanding Whale Behavior (This Changes Everything)
Here’s where most people mess up—they wait for the splash instead of anticipating it.
Whales follow patterns. Not strict ones, but patterns nonetheless. If you see a whale surface once, chances are it’ll come up again nearby. Watch the direction it’s heading. Look for those subtle clues—ripples, birds circling, even other passengers reacting.
Sometimes you’ll notice a slight bulge in the water before a breach. That’s your cue. Get ready. Frame your shot. Don’t panic-click. Just stay focused.
It’s a bit like fishing, honestly. Except your subject weighs 40 tons and doesn’t care about your shutter speed.
Camera Settings That Actually Work on the Water
You don’t have time to mess around with settings when a whale surfaces. Set yourself up before anything happens.
Keep your shutter speed fast. At least 1/1000 if you can. Whales move quick when they breach, and water splashes everywhere. You want that frozen moment, not a blur.
Aperture? Somewhere around f/8 works fine in daylight. It gives you enough depth without overcomplicating things.
ISO depends on the light. Start low, adjust as needed. Early morning tours might need a bump, but midday sun usually gives you plenty to work with.
And use continuous shooting mode. That burst of photos can be the difference between “meh” and “wow.”
Positioning Yourself on the Boat
This part gets overlooked a lot. Where you stand matters.
Try to stay near the front or along the sides with a clear view. Avoid being stuck behind crowds or near structures that block your shot. And don’t be afraid to move. Seriously, shuffle around if you need to.
The captain and crew usually call out sightings. Listen to them. They know what they’re doing. When they say “left side,” don’t hesitate—get there.
Also, keep your footing stable. Slight bend in your knees helps. Sounds silly, but it works when the boat rocks unexpectedly.
Timing Your Shots Without Losing the Moment
There’s a balance here. You want the shot, but you don’t want to miss the experience entirely.
I’ve seen people spend the whole tour staring through their viewfinder, missing the actual magic happening around them. Don’t do that.
Take your shots, sure. But also look up. Watch the whale with your own eyes. There’s something different about it. Hard to explain.
When you do shoot, don’t spam the shutter endlessly. Watch, anticipate, then shoot in short bursts. It feels more controlled. Less chaotic.
Dealing with Light and Weather (Because It Won’t Be Perfect)
Gloucester weather has a personality. It changes fast, and not always in your favor.
Cloudy days can actually be great for photography. Softer light, less harsh shadows. Sunny days? Nice, but reflections on the water can get tricky.
Use a lens hood if you’ve got one. Helps cut glare a bit. Polarizing filters can work too, though they’re not essential.
And yeah, your gear might get wet. Bring a microfiber cloth. Wipe your lens often. Salt spray builds up quicker than you think.
Composition Tips That Make Your Photos Stand Out
This is where you move from “cool photo” to something more interesting.
Don’t always center the whale. Try placing it off to one side. Include some ocean, maybe even the horizon. It gives context. Makes the shot feel bigger.
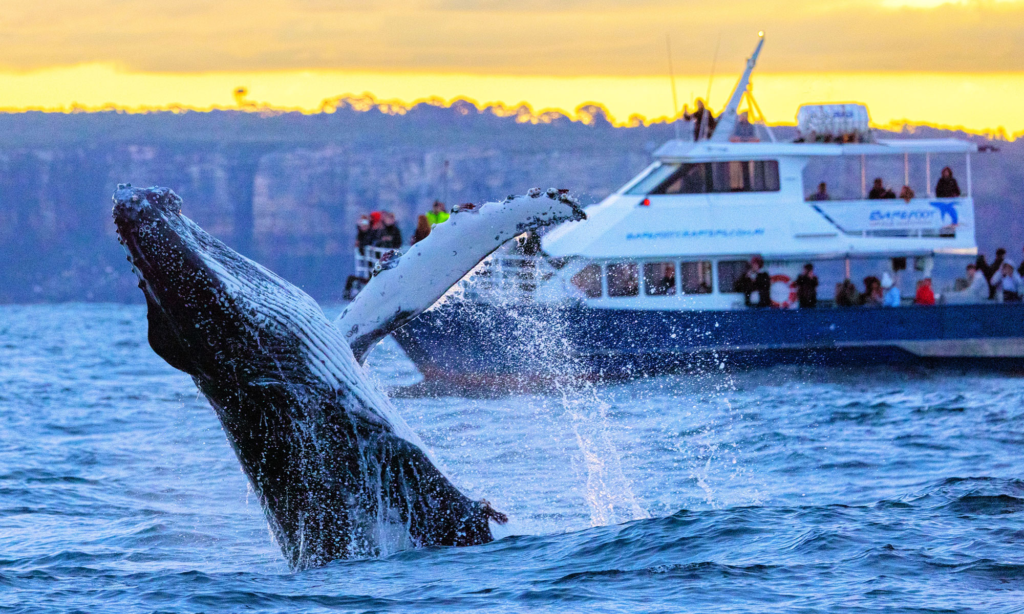
If you can, capture interaction—like a whale tail slapping or water exploding around it. That’s where the energy is.
And don’t forget scale. A distant whale with a boat nearby? That tells a story. Shows just how massive these creatures are.
Staying Patient (Even When It Gets Frustrating)
There will be times when nothing happens. Just water. Endless water.
That’s normal. Don’t let it distract you.
Stay alert, but calm. Keep your camera ready, settings adjusted, and eyes searching. The moment you relax—that’s usually when something amazing occurs.
Funny how that works.
Respecting the Experience (And the Whales)
This part matters more than any photo.
These are wild animals. You’re a guest in their space. Follow the crew’s instructions. Don’t lean too far over. Don’t try to “get closer” in unsafe ways.
And don’t chase the perfect shot so hard that you forget why you’re there.
Sometimes the best moments aren’t captured. They just stay with you. And honestly, that’s okay.
Editing Your Whale Photos Without Overdoing It
Once you’re back on land, it’s tempting to go wild with editing. Try not to.
Adjust exposure, tweak contrast, maybe sharpen a bit. That’s usually enough.
Keep the colors natural. The ocean already has its own mood—you don’t need to turn it into something it’s not.
If a photo didn’t turn out, let it go. Not every shot needs saving.
Final Thoughts from Someone Who’s Missed Plenty of Shots
You will miss shots. Guaranteed. I still do.
But you’ll also get a few that surprise you. The kind you look at later and think, “Yeah, that was worth it.”
That’s really what these trips are about. Not perfection. Just moments. Real ones.
And with Cape Ann Whale Watch, you’re at one of the best locations to observe these beautiful creatures. There are great opportunities for watching here, and your guides know how to help you see them up close without disturbing them. Now go out, take as many photos as you want, make mistakes, joke around, and keep practicing. This is the only way to learn something new.