

Introduction
Unified Payments Interface (UPI) has revolutionized the way people in India transfer money, making transactions quick, easy, and secure. However, there are times when a UPI payment might get declined, leaving users frustrated. Bajaj Pay, a BBPS-enabled platform available on the Bajaj Finserv App and website, allows seamless money transfers and payments with zero fees or convenience charges. If you’ve ever faced an issue with a UPI transfer, this guide will explain the common UPI payment declined reasons and how to fix them effectively to successfully complete your transaction.
What is UPI, and how does Bajaj Pay make it easier?
UPI, or Unified Payments Interface, is an innovative payment system that facilitates real-time money transfers between bank accounts using a mobile device. It eliminates the need for managing physical cash or lengthy bank details, making transactions easier than ever before. With just a Virtual Payment Address (VPA) or a phone number linked to a bank account, users can make instant payments anytime, anywhere.
Bajaj Pay simplifies the UPI transfer process by providing an easy-to-use, BBPS-enabled platform. Available on both the Bajaj Finserv App and Bajaj Pay website, it ensures quick, secure, and hassle-free UPI payments. The best part? Every UPI transaction on Bajaj Pay comes with zero fees or hidden charges, making it a reliable and cost-effective solution.
Features of UPI on Bajaj Pay
Bajaj Pay offers exceptional features to make UPI payments smoother and more secure:
- BBPS-certified and RBI-regulated platform: Ensures a high level of security and compliance.
- Zero fees: All UPI transactions come with no additional costs or convenience charges.
- Multiple payment options: Use UPI, Net Banking, debit cards, or credit cards for transactions.
- Instant confirmation: Get immediate payment status updates and downloadable digital receipts after every UPI transfer.
- User-friendly platform: Accessible on both the Bajaj Finserv App and Bajaj Pay website.
- 24/7 availability: Make payments whenever you need, without interruptions.
- Wide network: Pay across multiple merchants, service providers, and billers with ease.
- Auto-pay: Set up auto-pay for recurring UPI transactions to avoid forgetting important payments.
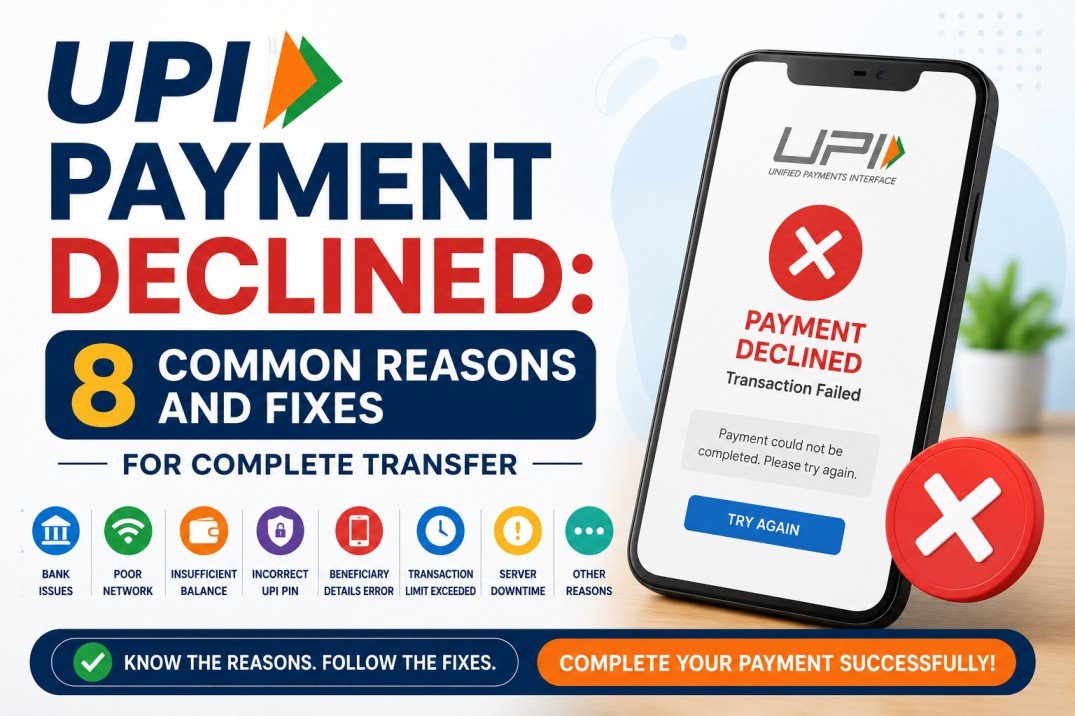
8 common reasons why your UPI payment gets declined
There are a variety of reasons why a UPI payment might fail. Identifying the root cause is essential to ensure a smooth transfer. Here are the eight most common reasons for a failed UPI payment and corresponding fixes:
1. Incorrect VPA or bank account details:
Entering an incorrect Virtual Payment Address (VPA) or bank account information can lead to transaction failure. Always double-check the recipient’s details before initiating the UPI payment.
Fix: Verify the recipient’s VPA or UPI ID correctly and try the transaction again.
2. Insufficient bank account balance:
If your account doesn’t have enough funds, the transfer won’t go through.
Fix: Check your account balance from the Bajaj Finserv App or your UPI app and ensure you have sufficient balance.
3. Bank server issues:
Sometimes, a UPI transfer fails due to temporary downtime of your bank’s server.
Fix: Wait for a while and retry the transaction later.
4. Daily UPI transaction limit exceeded:
Banks and UPI platforms impose daily or per-transaction limits, and exceeding these can block further transfers.
Fix: Check with your bank for UPI limits and plan transfers accordingly.
5. Poor internet connectivity:
A weak internet connection during the transaction can interrupt the process.
Fix: Ensure you have a stable and reliable internet connection before making the payment.
6. Outdated UPI app or app cache issues:
Using an outdated version of the app or having corrupted cache files may disrupt the UPI transfer.
Fix: Update your payment app to the latest version and clear the app cache in the settings if needed.
7. Wrong UPI PIN entry:
Entering an incorrect or invalid UPI PIN will block the payment.
Fix: Double-check the UPI PIN and ensure you input it correctly. If forgotten, reset your PIN through the app.
8. KYC or bank account-related issues:
Incomplete Know Your Customer (KYC) verification or issues with your linked bank account can prevent the transaction.
Fix: Ensure your KYC details are up to date and that your bank account is linked properly to your UPI ID.
Things to keep in mind before making a UPI transfer
To avoid facing errors during UPI transactions, here are some precautions you should take:
- Double-check the recipient’s VPA or UPI ID to ensure transaction accuracy.
- Verify your account balance before initiating a transfer.
- Use a stable internet connection for smooth transaction processing.
- Check your UPI daily or per-transaction limit with your bank.
- Update the Bajaj Finserv App regularly for a seamless user experience.
- Save or screenshot the UPI payment receipt for future reference.
- Enable the auto-pay feature on Bajaj Pay for recurring payments to avoid missing deadlines.
Benefits of paying through Bajaj Pay
Here’s why using Bajaj Pay for UPI payments is the best choice:
- Zero fees and charges: All UPI payments and transactions on Bajaj Pay are completely free of charge, with no hidden costs or convenience fees.
- Rewards and offers: Earn Bajaj Pay rewards on eligible payments and enjoy regular cashback deals and offers with Bajaj Pay’s rewards program.
- Secure platform: Bajaj Pay is BBPS-certified and backed by Bajaj Finserv’s trusted financial infrastructure, ensuring end-to-end encrypted and secure transactions.
- One-stop solution: Manage UPI transfers, utility bills, recharges, and other payment needs all from the Bajaj Finserv App or Bajaj Pay website.
- Instant confirmation: Get real-time payment updates and access downloadable digital receipts for every successful UPI transfer.
How to make a UPI transfer using the Bajaj Finserv App
Follow these simple steps to complete a UPI transaction effortlessly on Bajaj Pay:
- Step 1: Open the Bajaj Finserv App on your smartphone or visit the Bajaj Pay website on your browser.
- Step 2: Log in using your registered mobile number or create a new account if you’re a new user.
- Step 3: On the home screen, navigate to the ‘Money Transfer’ section for UPI transactions.
- Step 4: Select your bank from the list and link your account to generate a UPI ID if not already established.
- Step 5: Choose whether you want to send money using a mobile number, VPA, account details, or QR code.
- Step 6: Enter the required recipient details, payment amount, and UPI PIN. Verify everything carefully.
- Step 7: Confirm the transaction, and once successful, save or share the digital receipt for your records.
Conclusion
With UPI payments, transferring money has never been easier, but failed transactions can cause unnecessary delays. Bajaj Pay makes it simple to troubleshoot and complete UPI transfers efficiently. Enjoy zero fees, enhanced transaction security, and the added bonus of rewards and offers when you use Bajaj Pay through the Bajaj Finserv App or website. Don’t let a failed UPI payment discourage you—download the Bajaj Finserv App today and experience hassle-free transfers with the confidence of a secure and trusted platform.
